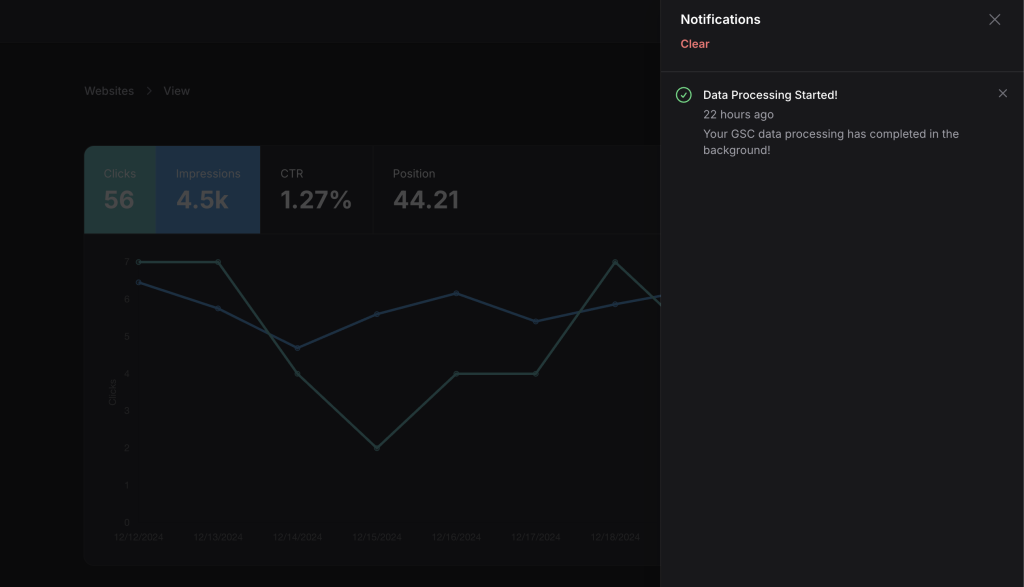
In this tutorial, I’ll walk you through setting up database notifications using Filament in your Laravel application. We’ll cover how to send notifications and configure real-time updates.
Step 1: Install Notifications
Require the Notifications package using Composer:
composer require filament/notifications:"^3.2" -WRun the following command to install the Notifications package assets:
php artisan filament:install --notificationsStep 2: Implement Notification
Use the Filament\Notifications\Notification class to create and send notifications.
$recipient = User::findOrFail($this->user_id);
$recipient->notify(
    Notification::make()
        ->title('Data Processing Started!')
        ->body('Your GSC data processing has started in the background.')
        ->success()
        ->toDatabase()
);
You can check FilamentPHP documentation for more options.
Step 3: Configure the Admin Panel
To enable database notifications and ensure they are updated in real time, add the following to your AdminPanelProvider:
public function panel(Panel $panel): Panel
{
    return $panel
        // ...
        ->databaseNotifications()
        ->databaseNotificationsPolling('30s');
}
->databaseNotificationsPolling('30s') sets up polling to check for new notifications every 30 seconds. Polling periodically requests updates from the server and displayed without a page refresh. Adjust the interval as needed to balance between update frequency and server load.
Step 4: Processed Notifications
To make sure that notifications are processed and displayed in real-time, run the queue listener:
php artisan queue:listenConclusion:
In this article, we learned how to integrate a notification system into your Laravel application using FilamentPHP and store them in database. Customize the notification content and settings to suit your application’s needs.
If you found this article helpful, feel free to share it with others in the Laravel community. Happy coding!
