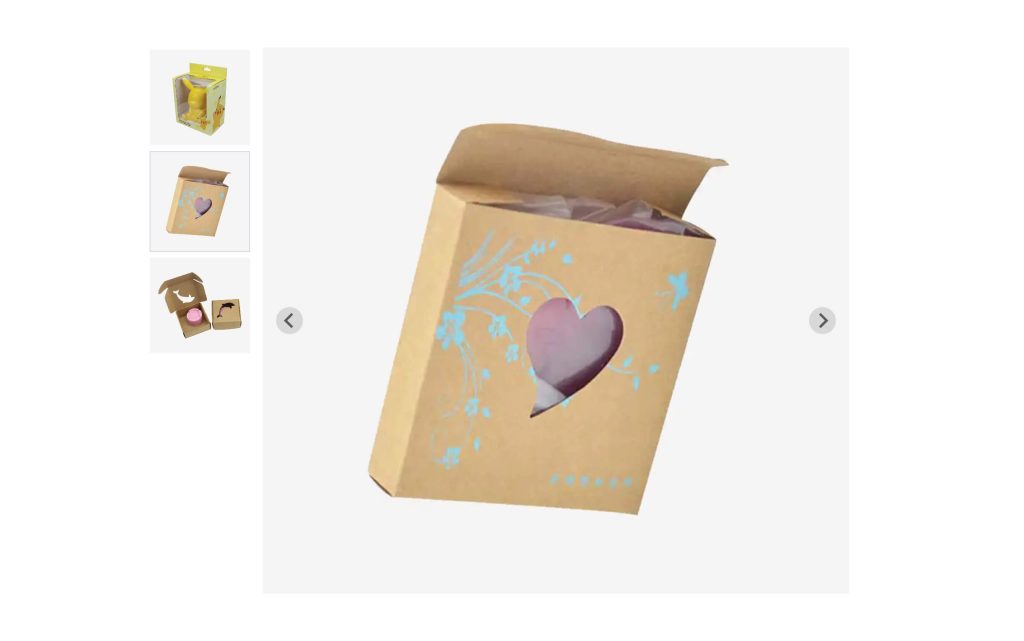
Are you looking to enhance your product gallery with a sleek and interactive slider? Look no further! In this tutorial, I’m going to use Splide JS Slider/Carousel that offers a dynamic way to showcase your products.
Extra: I’ll also show you how you can automatically highlight the active slide when you hover over its thumbnail.
For this tutorial, I am using version 4.1.4, you can include this library from CDN.
Let’s break down the code step by step:
HTML Structure:
The HTML part of the code defines the structure of our slider. We have two main components: splide-thumbnail and main-splide, each containing a list of slides (splide__slide elements).
CSS:
The CSS code for little styling.
#product-gallery {
    display: flex;
    gap: 15px;
}
#splide-thumbnail ul.splide__list > .splide__slide.is-active {
    border: 1px solid #d1d5db;
}
JavaScript:
The JavaScript code initializes the Splide sliders and handles the hover functionality.
1. Initialization:
window.addEventListener('DOMContentLoaded', function () {
    // Init Splide slider for product gallery
    ["load", "resize"].forEach(function (evt) {
        window.addEventListener(evt, gallerySliderInit);
    });

    function gallerySliderInit() {

    }
});- The script waits for the DOM content to load before initializing the slider.
- It sets up event listeners for window resizing, ensuring the slider adapts to different screen sizes.
2. Slider Initialization:
In gallerySliderInit function:
const productSlider = document.querySelector('#main-splide');
const pSliderThumb = document.querySelector('#splide-thumbnail');
if(typeof productSlider != "undefined" && productSlider != null) {
    var pSpl = new Splide(productSlider, {
        type		: "slide",
        perPage		: 1,
        autoplay	: false,
        arrows		: true,
        pagination	: false,
        drag		: true,
        breakpoints: {
            860: {
                arrows      : false
            }
        }
    });
    var pSpThumb = new Splide(pSliderThumb, {
        direction       : 'ttb',
        height          : '38rem',
        rewind          : true,
        fixedWidth      : 120,
        fixedHeight     : 120,
        isNavigation    : true,
        gap             : 4,
        focus           : 'start',
        pagination      : false,
        arrows		: false,
        cover           : true,
        dragMinThreshold: {
            mouse: 4,
            touch: 10,
        },
        breakpoints: {
            860: {
                fixedWidth  : 94,
                fixedHeight : 94,
                direction   : 'ltr',
                height      : 'auto',
                arrows      : true
            }
        }
    });
}- It checks if the
main-splideelement exists. - If it exists, it creates a new Splide instance for both the main slider (
pSpl) and the thumbnail slider (pSpThumb). - Various options are set for each slider, such as slide type, autoplay, navigation arrows, and breakpoints for responsive design.
3. Synchronization:
pSpl.sync( pSpThumb );
pSpl.mount();
pSpThumb.mount();- It synchronizes the main slider with the thumbnail slider using
pSpl.sync(pSpThumb). - This ensures that when you navigate through the main slider, the corresponding thumbnail is highlighted, and vice versa.
4. Thumbnail Hover Functionality:
const thumbnailSlides = document.querySelectorAll('#splide-thumbnail li');

thumbnailSlides.forEach((thumbnailSlide, index) => {
    thumbnailSlide.addEventListener('mouseenter', () => {

        if (index >= 0 && index < pSpl.length) {
            pSpThumb.go(index);
            pSpl.go(index);
        }

    });
});- It retrieves all the thumbnail slides (
lielements) within the thumbnail slider. - For each thumbnail slide, it adds a
mouseenterevent listener. - When hovering over a thumbnail, it checks if the index is within the bounds of the main slides.
- If so, it updates the active classes for both the thumbnails and the main slides, highlighting the corresponding slide.
Complete code:
Conclusion:
With this code, you can easily implement a stylish product gallery with synchronized main and thumbnail sliders. The active slide highlighting on hover adds an engaging touch, allowing users to preview product images effortlessly.
